Happy Halloween!
This year's costume for my 2 year old happened a little bit by accident. I bought the denim vest (seen in the picture below) from Old Navy for my daughter's 2 year birthday pictures. I don't normally spend so much on an item of clothing that will be outgrown so quickly, but in this case, I am glad I did because it really made the outfit.

Afterwards, I was sort of complaining about the cost vs. length-of-time-before-it's-outgrown issue to a friend from work. She suggested I make my daughter a cowgirl for Halloween. It was like a bell went off in my head: "Ding Ding Ding!"
The first thing I knew I wanted to do was to make a bandanna skirt. I had seen these before and I thought it would be the perfect cowgirl skirt. I found a great and easy pattern
here. It is the easiest thing I have ever made. Seriously, it took me 20 minutes. In fact, when I was at Hobby Lobby I saw all sorts of cute patterned bandanas that I thought I would make into some play clothes for her as well.
Anyway. Here is the finished product.

And here is my daughter modeling the 2-inch fabric length I sewed to the bottom. Adding fabric at the bottom makes it possible to make this skirt for any young girl. The taller they are, the more fabric you add. Love it!

I knew we would be doing a reverse applique class at SPARK this year (trust me, I will be blogging more about SPARK!) I went prepared with a template of a horse and a toddler's t-shirt from Target. It turned out even better than I could have imagined! The designer
Amy Tangerine taught the class (she is so inspirational!) and I was on cloud 9 when she liked my design!

Next up, and probably my favorite part of the costume are the boots. These were a small source of stress at first because real cowboy boots (for a toddler, even) were $55! Yikes! My husband and I agreed that she could just wear her Sunday shoes, but deep down I really wanted her to have cowboy boots. So I headed to our local thrift store to see what I could find. They didn't have any cowboy boots, but they had these.

You're probably thinking: not even close. I did too. But I knew I could figure out a way to make them work. Then I found this embossed felt at Hobby Lobby. I thought it looked just like leather from a distance. Then the wheels in my head started spinning...

Through trial and error (sorry, no template here) I just started cutting away the felt until each piece looked like the top of a cowboy boot. Then I hand sewed the two pieces together. It still needed something, so I grabbed another bandanna I had purchased and cut out little squares and stitched them on.

Then I slid each piece over the top of each boot. The best part is there is no glue involved so I can just slip them back off and reuse the boots (which, by the way, are in awesome condition. I still can't figure out why they ended up at thrift shop, but I'm sure glad they did!) Here are the finished boots. Pretty close, huh?!

Next she needed a hat. I found these cute foam hats at Hobby Lobby and I thought the pink seemed more like my daughter. I stitched some gingham ribbon around the base and added a hand-sewn flower made out of a strip of bandanna (another skill I learned at SPARK this year.) I made an quick chin strap out of some red ribbon.

And what is a cowgirl without a horse? I found this horse on the same trip to the thrift shop. It had a red bandanna around it's neck with a Wells Fargo logo. That seemed easy enough to fix. After a good bath, I attached another hand-sewn flower to his bandanna. And he's ready for trick-or-treating now!

This was the most fun I've had preparing for Halloween. It's also the first costume I have ever made from scratch (minus the vest, of course.) I have been hesitant to sew costumes before because you can buy them so cheaply! But this entire costume came together for far less than I could have expected. Here's the breakdown:
Vest: originally $20 but fair to say repurposed in this case, so $0
Skirt: $1 for the bandanna, $1 for the fabric hem, $2 for the elastic, so $4
Shirt: $6 at Target, $350 for the class (okay, we won't count that one)--$6
Black tights: already owned--$0
Boots: $3, felt was $0.50 a sheet (at 2 sheets) plus another $1 bandanna which I also used for the flowers (owned the thread)--$5
Hat: $3 plus $1 ribbon on sale (owned the ribbon for the chin-strap)--$4
Horse: $0.50
That's an entire costume for just under $20. And not only was it fun to make but each piece (minus the hat) can be reused--or played with--post-Halloween.
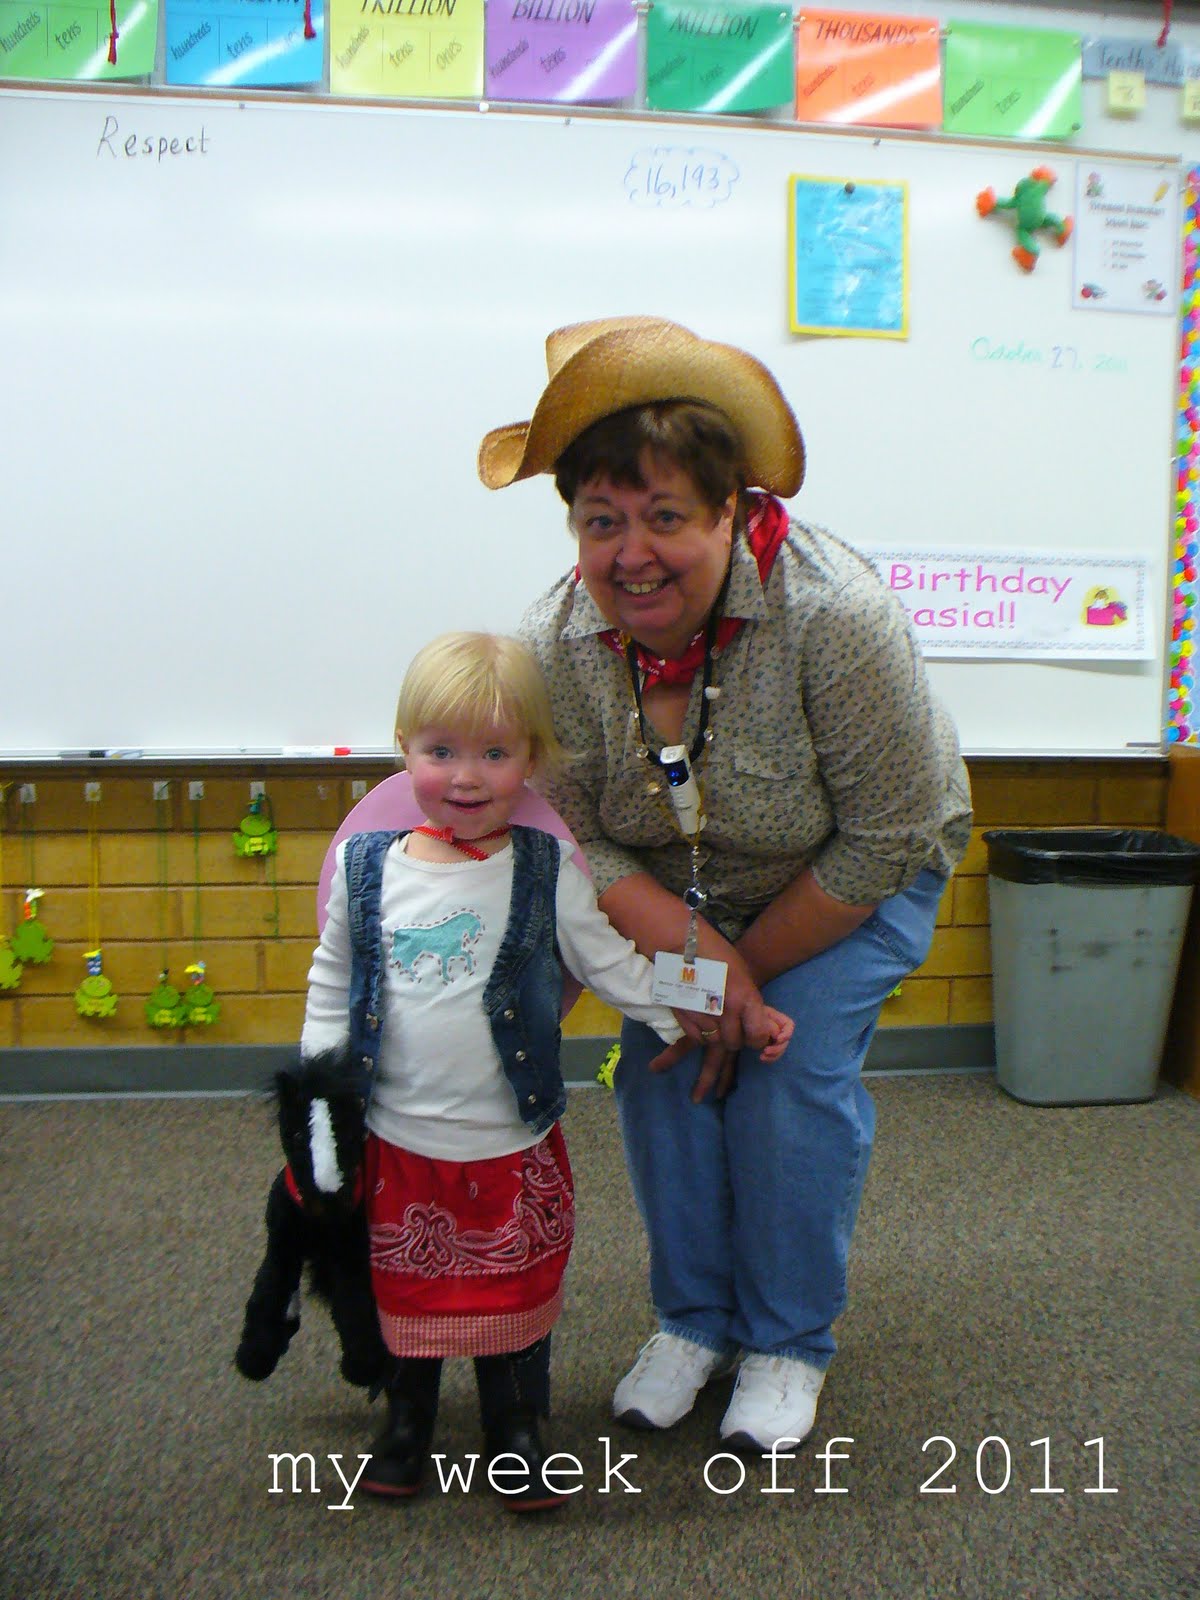
Finally, here is my daughter in her costume at her Grandma's school parade!


 I love the details. Particularly the ribbon.
  The buttons were supposed to attach on the inside, but it didn't look right. So I moved them to the outside.
  And the appliqued butterflies. Again, the details!
  Of course I had to try it on her when I finished.