Sunday, November 20, 2011

Birthdays are fun!

I am blessed to know some very creative people!

My birthday started out with french toast made from Kneader's Chunky Cinnamon Bread. YUM!


I love this gift from my coworker!


Another coworker brought these awesome S'mores Cupcakes (if I get a source, I'll link it here.)


This was fun: another coworker found 30 facts from 1981:


and filled a bag with several items--30 of each. So creative!


And possibly my favorite crafted-for-me-item ever. My husband made me a card this year. He said he went into my craft room and was overwhelmed by all of the supplies, so he just started grabbing things and sticking them on. To paraphrase him, he ran out of a glue stick and ended up Modge-Podging the whole thing and Modge Podge gets everywhere, apparently. I absolutely love it; I think he did a terrific job!


Ladies: he's mine :)

Thursday, November 10, 2011

More Cards

Does anybody have any good techniques for photographing cards? I'm relatively new at it and still trying out how to take decent pictures of them.

The first two are birthday cards I made for my grandparents-in-law.


Here is a card I made for a baby shower. I wanted a certain color pink for the tag and couldn't find it so I just inked the whole thing.


And here is a Thinking of You card I made out of scrapbook scraps. (Sorry, not showing you that scrapbook page as it involves me when I was incredibly sick and therefore not so glamorous.)


I wanted the ladybugs to have dimension. I've seen this technique where you stamp the image twice, cutting out one and layering it on the other. It was SOOO easy and I really like the effect.

Tuesday, November 8, 2011

Scrapbook/Card Duo

While I've been dabbling here and there in digital scrapbooking lately, paper and glue scrapbooking is still my true love. Recently, I decided to start making cards out of the scraps leftover from my page while they were still out. It has been a really easy way to grow my collection of cards.

Here is part of a page I did about my husband and I visiting the Olympic Stadium when the 2002 Winter Olympics came to our hometown. I loved the colors that represented those particular games so I decided to use them on this layout.


Then when I was done I made this card!


I left it blank so that I could use it for any occasion.

Monday, October 31, 2011

Cowgirl Costume

Happy Halloween!

This year's costume for my 2 year old happened a little bit by accident. I bought the denim vest (seen in the picture below) from Old Navy for my daughter's 2 year birthday pictures. I don't normally spend so much on an item of clothing that will be outgrown so quickly, but in this case, I am glad I did because it really made the outfit.


Afterwards, I was sort of complaining about the cost vs. length-of-time-before-it's-outgrown issue to a friend from work. She suggested I make my daughter a cowgirl for Halloween. It was like a bell went off in my head: "Ding Ding Ding!"

The first thing I knew I wanted to do was to make a bandanna skirt. I had seen these before and I thought it would be the perfect cowgirl skirt. I found a great and easy pattern here. It is the easiest thing I have ever made. Seriously, it took me 20 minutes. In fact, when I was at Hobby Lobby I saw all sorts of cute patterned bandanas that I thought I would make into some play clothes for her as well.

Anyway. Here is the finished product.


And here is my daughter modeling the 2-inch fabric length I sewed to the bottom. Adding fabric at the bottom makes it possible to make this skirt for any young girl. The taller they are, the more fabric you add. Love it!


I knew we would be doing a reverse applique class at SPARK this year (trust me, I will be blogging more about SPARK!) I went prepared with a template of a horse and a toddler's t-shirt from Target. It turned out even better than I could have imagined! The designer Amy Tangerine taught the class (she is so inspirational!) and I was on cloud 9 when she liked my design!


Next up, and probably my favorite part of the costume are the boots. These were a small source of stress at first because real cowboy boots (for a toddler, even) were $55! Yikes! My husband and I agreed that she could just wear her Sunday shoes, but deep down I really wanted her to have cowboy boots. So I headed to our local thrift store to see what I could find. They didn't have any cowboy boots, but they had these.


You're probably thinking: not even close. I did too. But I knew I could figure out a way to make them work. Then I found this embossed felt at Hobby Lobby. I thought it looked just like leather from a distance. Then the wheels in my head started spinning...


Through trial and error (sorry, no template here) I just started cutting away the felt until each piece looked like the top of a cowboy boot. Then I hand sewed the two pieces together. It still needed something, so I grabbed another bandanna I had purchased and cut out little squares and stitched them on.


Then I slid each piece over the top of each boot. The best part is there is no glue involved so I can just slip them back off and reuse the boots (which, by the way, are in awesome condition. I still can't figure out why they ended up at thrift shop, but I'm sure glad they did!) Here are the finished boots. Pretty close, huh?!


Next she needed a hat. I found these cute foam hats at Hobby Lobby and I thought the pink seemed more like my daughter. I stitched some gingham ribbon around the base and added a hand-sewn flower made out of a strip of bandanna (another skill I learned at SPARK this year.) I made an quick chin strap out of some red ribbon.


And what is a cowgirl without a horse? I found this horse on the same trip to the thrift shop. It had a red bandanna around it's neck with a Wells Fargo logo. That seemed easy enough to fix. After a good bath, I attached another hand-sewn flower to his bandanna. And he's ready for trick-or-treating now!


This was the most fun I've had preparing for Halloween. It's also the first costume I have ever made from scratch (minus the vest, of course.) I have been hesitant to sew costumes before because you can buy them so cheaply! But this entire costume came together for far less than I could have expected. Here's the breakdown:

Vest: originally $20 but fair to say repurposed in this case, so $0
Skirt: $1 for the bandanna, $1 for the fabric hem, $2 for the elastic, so $4
Shirt: $6 at Target, $350 for the class (okay, we won't count that one)--$6
Black tights: already owned--$0
Boots: $3, felt was $0.50 a sheet (at 2 sheets) plus another $1 bandanna which I also used for the flowers (owned the thread)--$5
Hat: $3 plus $1 ribbon on sale (owned the ribbon for the chin-strap)--$4
Horse: $0.50

That's an entire costume for just under $20. And not only was it fun to make but each piece (minus the hat) can be reused--or played with--post-Halloween.

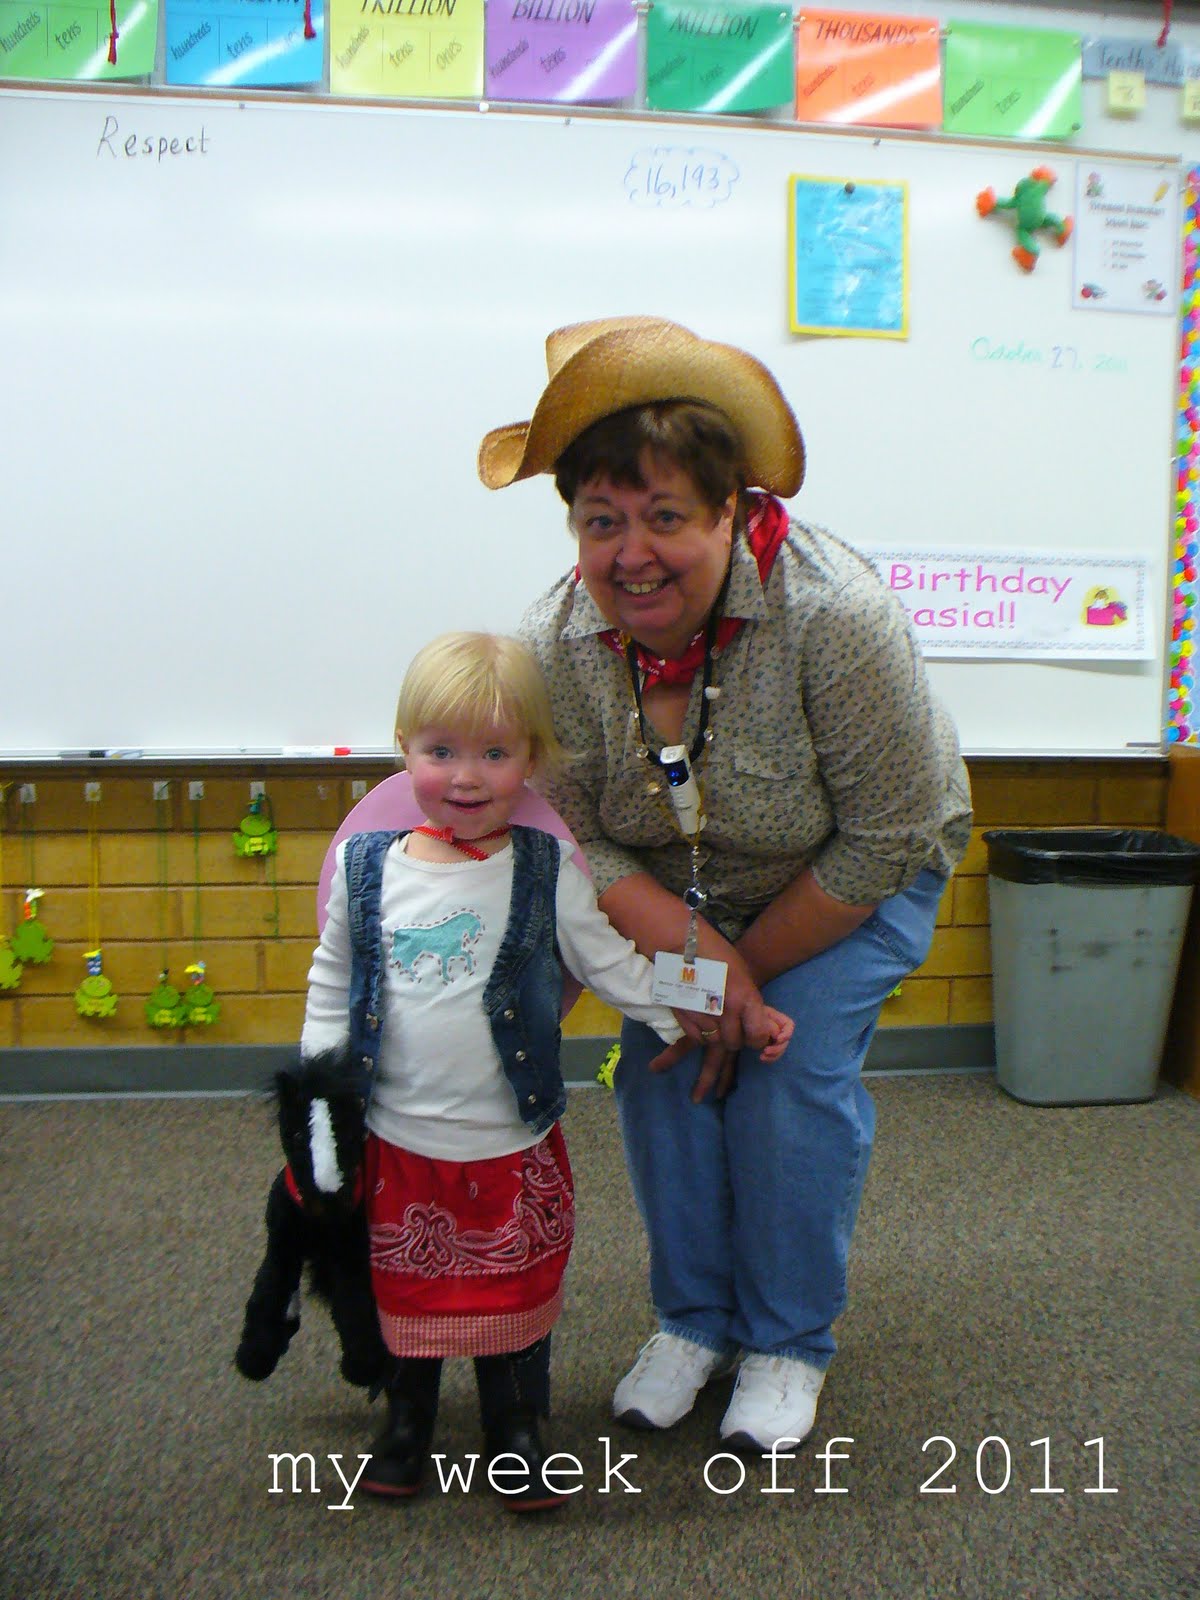
Finally, here is my daughter in her costume at her Grandma's school parade!

Sunday, October 9, 2011

Strawberry Lemonade Birthday

I created a Pinterest account shortly before my daughter's second birthday and, in collecting ideas for her party, I started to notice I was liking the same things: cupcakes, pink and strawberry lemonade. Her birthday was in August and somehow Strawberry Lemonade just fit. So that became the theme for her party.

I was all about going simple this year. The guest list pared down to family (which still amounted to quite a few people!) and the menu being dessert only. I bought a dozen pink and yellow balloons. My daughter is obsessed with balloons so I knew they would be a hit with her. I found some pink streamers in my party supplies. And luckily, I had leftover pink plates and napkins from her first birthday party.

Here she is eating her homemade mac 'n cheese birthday dinner before the guests arrived. (By the way: we kept the streamers and balloons around for several days after her party. She loved them!)


I found this recipe for lemonade cupcakes and they were so delicious! I turned them into pink lemonade cupcakes by using pink lemonade concentrate. Also, I finally learned how to decently decorate a cupcake as well. I used a 1M swirl tip and hot pink Americolor food coloring. Holy cow, food coloring really does make a difference. This brand is so much better than Wilton! (Sorry, Wilton.) I looked for a giant "2" candle and the store was out so I had to improvise. But I actually think the cupcake tree turned out better this way.


And what's a strawberry lemonade party without strawberry lemonade? This is Emeril's recipe via Everyday Living. It is easy and good! In fact, I nearly missed getting a picture of it at all: it was disappearing rather quickly.


Here's my daughter gearing up for the goods.


She went straight for the frosting. Love the pink mustache.

Saturday, October 8, 2011

Golden Graham S'mores

It's not often that my husband brings a recipe home to try. He was absolutely raving about these so I made no delay in buying the ingredients. I joined a greater part of the "watching General Conference in my pajamas" community (who also spend their conference weekend baking) and made these Sunday morning.

Super easy and SO GOOD! They might just divert my obsession for Rice Krispy treats.

I had to give them away or I would have literally eaten the entire tray myself. See, I couldn't even wait to try them before I took a picture...


Here's the recipe:

~Ingredients~
10 oz miniature marshmallows
6 single serving Hershey bars (the normal size)
5 T butter
1 t vanilla
8 c Golden Graham cereal

~Directions~
Place chocolate bars in freezer, and chill well (I left mine overnight.) Once the bars are very chilled, mash them (I used the flat side of a meat-mallet) and then unwrap them. Place broken candy bars in a bowl and put back into freezer.

Butter a 9x13-in. baking pan. Melt 5 c of marshmallows and butter in a large saucepan (as in big enough to also hold the 8 c of cereal) over low heat. Stir occasionally.

Once the marshmallows have melted, remove pot from stove. Add in cereal and mix well. Add in your remaining 1 c of marshmallows and the chocolate bar pieces. Smash mixture into buttered baking pan and place pan in refrigerator. Cool completely before serving.


These have me imagining other cereal-marshmallow concoctions...

Friday, October 7, 2011

Cinnamon Toast

According to the Pioneer Woman, I have been making Cinnamon Toast incorrectly for the last 25 years of my life. No, seriously. Her recipe is AMAZING! (And in case you are wondering, I have always used Approach #3. And I'm feeling sort of guilty about it.)

So it was one of those evenings when my hubby was at the firestation and I didn't really feel like putting a lot of effort into dinner. However, I didn't really feel like reheating anything either.

This toast is the perfect accompaniment to one of my favorite dinner fallbacks: breakfast for dinner. Scramble some eggs and slice some fresh cantaloupe and you're good to go!


It's always a bonus when my daughter likes what we're having for dinner!