Monday, May 21, 2012

Have you tried...

I love making cards (in case you can't tell) but there is no way that I can come up with thousands (okay-- dozens) of new ideas on my own so I've made a folder with hundreds (okay--that is not an exaggeration) of card recipes. 

At first when I started cardmaking several years ago, I would find a design that I really liked I would try to find the same materials used so I could replicate it exactly.  This often left me frustrated.  Then I realized that it probably wasn't what the designer had in mind in the first place.  Like, "Oh maybe this is just to inspire me to do my own!"  Sometimes I admit I'm not very bright.

Anyway, now I will pull a pattern that I like, such as this one:


I'll look at the supplies they used (i.e., 2 kinds of cardstock, 3 patterned papers, 2 accents, etc.) and just rummage through my stuff until I find something I like.  In this example my card isn't identical, but it is fairly similar.  Sometimes there is no resemblance whatsoever.  I guess it just depends on my mood and what I have on hand.

                        
This has honestly cut the time it takes for me to make a card in half.  If you are a cardmaker, try a recipe every now and then!  My favorite sources are Cardmaker and Paper Crafts Magazines, as well as scrapbook page designs.  I've heard some people even use advertisements or catalogs, but I've tried niether. 

Tuesday, May 15, 2012

Tip of the Week

I have a fantastic shortcut when it comes to shredding chicken.  Here's a secret--it involves this:


(I have another secret--I don't really peruse Pinterest.  I have friends that do that.  Then they pass on awesome tips like this to me and I get credit when I blog about it.)


All you do is take a cooked chicken breast (I boiled mine.  When cooked this wayI think they stay juicier and shred easier.) attach the paddle attachment and hit go.


Seriously.  Within a minute two cooked chicken breasts looked like this. 


Painless and easy to clean up.  Try it!


Tuesday, May 8, 2012

Birth Announcement for a Sweet Little Girl

First of all, I find it sort of ironic that my last post was about my 30th birthday and today is, in fact, my half-birthday.

If you read my personal blog then you know I'm expecting our second little kiddo (a boy!) in just a few weeks now.  If you remember my pregnancy with my first then you know that I developed an aversion to crafting.  This time around I wouldn't necessarily say that I developed an aversion to crafting, but I certainly didn't have any extra energy to spare in those first few months!  So that along with a general lack of motivation and...well, happy half-birthday to me!

I thought I would start off by showing a little cross-stitch project for my great-niece (Yes, I'm a great-aunt and a Great Aunt!)  I have loved making these for my nieces and nephews through the years and now I get to start on the great-variety as well.  The kit is from Bucilla and I think it is absolutely adorable. 

(By the way, if you are an avid cross-sticher like I am, then check out 1-2-3 Stitch.  This is a web-based company but is local to where I live.  They offer locals the ability to just go pick up there orders from the outlet so you don't have to pay shipping and handling.  I opted to do this for another project I ordered, but when I found that my time was more valuable than cost, I sent them an email asking if they could just change my order to a delivery and charge me shipping/handling.  They not only changed my order per my request but said, "Don't worry about paying extra, will just send it at no cost."  Awesome!)

Here is my version of the project.  Out of respect to the mommy I am blurring out Baby M's name:


I love all of the little details!


I hope she enjoys it as much as I enjoyed making it.  I am currently working on one for my oldest daughter.  I have another one for my great-nephew born in December.  And of course there is my second little kiddo.  That gives me 8 weeks to get them all done.

Sunday, November 20, 2011

Birthdays are fun!

I am blessed to know some very creative people!

My birthday started out with french toast made from Kneader's Chunky Cinnamon Bread. YUM!


I love this gift from my coworker!


Another coworker brought these awesome S'mores Cupcakes (if I get a source, I'll link it here.)


This was fun: another coworker found 30 facts from 1981:


and filled a bag with several items--30 of each. So creative!


And possibly my favorite crafted-for-me-item ever. My husband made me a card this year. He said he went into my craft room and was overwhelmed by all of the supplies, so he just started grabbing things and sticking them on. To paraphrase him, he ran out of a glue stick and ended up Modge-Podging the whole thing and Modge Podge gets everywhere, apparently. I absolutely love it; I think he did a terrific job!


Ladies: he's mine :)

Thursday, November 10, 2011

More Cards

Does anybody have any good techniques for photographing cards? I'm relatively new at it and still trying out how to take decent pictures of them.

The first two are birthday cards I made for my grandparents-in-law.


Here is a card I made for a baby shower. I wanted a certain color pink for the tag and couldn't find it so I just inked the whole thing.


And here is a Thinking of You card I made out of scrapbook scraps. (Sorry, not showing you that scrapbook page as it involves me when I was incredibly sick and therefore not so glamorous.)


I wanted the ladybugs to have dimension. I've seen this technique where you stamp the image twice, cutting out one and layering it on the other. It was SOOO easy and I really like the effect.

Tuesday, November 8, 2011

Scrapbook/Card Duo

While I've been dabbling here and there in digital scrapbooking lately, paper and glue scrapbooking is still my true love. Recently, I decided to start making cards out of the scraps leftover from my page while they were still out. It has been a really easy way to grow my collection of cards.

Here is part of a page I did about my husband and I visiting the Olympic Stadium when the 2002 Winter Olympics came to our hometown. I loved the colors that represented those particular games so I decided to use them on this layout.


Then when I was done I made this card!


I left it blank so that I could use it for any occasion.

Monday, October 31, 2011

Cowgirl Costume

Happy Halloween!

This year's costume for my 2 year old happened a little bit by accident. I bought the denim vest (seen in the picture below) from Old Navy for my daughter's 2 year birthday pictures. I don't normally spend so much on an item of clothing that will be outgrown so quickly, but in this case, I am glad I did because it really made the outfit.


Afterwards, I was sort of complaining about the cost vs. length-of-time-before-it's-outgrown issue to a friend from work. She suggested I make my daughter a cowgirl for Halloween. It was like a bell went off in my head: "Ding Ding Ding!"

The first thing I knew I wanted to do was to make a bandanna skirt. I had seen these before and I thought it would be the perfect cowgirl skirt. I found a great and easy pattern here. It is the easiest thing I have ever made. Seriously, it took me 20 minutes. In fact, when I was at Hobby Lobby I saw all sorts of cute patterned bandanas that I thought I would make into some play clothes for her as well.

Anyway. Here is the finished product.


And here is my daughter modeling the 2-inch fabric length I sewed to the bottom. Adding fabric at the bottom makes it possible to make this skirt for any young girl. The taller they are, the more fabric you add. Love it!


I knew we would be doing a reverse applique class at SPARK this year (trust me, I will be blogging more about SPARK!) I went prepared with a template of a horse and a toddler's t-shirt from Target. It turned out even better than I could have imagined! The designer Amy Tangerine taught the class (she is so inspirational!) and I was on cloud 9 when she liked my design!


Next up, and probably my favorite part of the costume are the boots. These were a small source of stress at first because real cowboy boots (for a toddler, even) were $55! Yikes! My husband and I agreed that she could just wear her Sunday shoes, but deep down I really wanted her to have cowboy boots. So I headed to our local thrift store to see what I could find. They didn't have any cowboy boots, but they had these.


You're probably thinking: not even close. I did too. But I knew I could figure out a way to make them work. Then I found this embossed felt at Hobby Lobby. I thought it looked just like leather from a distance. Then the wheels in my head started spinning...


Through trial and error (sorry, no template here) I just started cutting away the felt until each piece looked like the top of a cowboy boot. Then I hand sewed the two pieces together. It still needed something, so I grabbed another bandanna I had purchased and cut out little squares and stitched them on.


Then I slid each piece over the top of each boot. The best part is there is no glue involved so I can just slip them back off and reuse the boots (which, by the way, are in awesome condition. I still can't figure out why they ended up at thrift shop, but I'm sure glad they did!) Here are the finished boots. Pretty close, huh?!


Next she needed a hat. I found these cute foam hats at Hobby Lobby and I thought the pink seemed more like my daughter. I stitched some gingham ribbon around the base and added a hand-sewn flower made out of a strip of bandanna (another skill I learned at SPARK this year.) I made an quick chin strap out of some red ribbon.


And what is a cowgirl without a horse? I found this horse on the same trip to the thrift shop. It had a red bandanna around it's neck with a Wells Fargo logo. That seemed easy enough to fix. After a good bath, I attached another hand-sewn flower to his bandanna. And he's ready for trick-or-treating now!


This was the most fun I've had preparing for Halloween. It's also the first costume I have ever made from scratch (minus the vest, of course.) I have been hesitant to sew costumes before because you can buy them so cheaply! But this entire costume came together for far less than I could have expected. Here's the breakdown:

Vest: originally $20 but fair to say repurposed in this case, so $0
Skirt: $1 for the bandanna, $1 for the fabric hem, $2 for the elastic, so $4
Shirt: $6 at Target, $350 for the class (okay, we won't count that one)--$6
Black tights: already owned--$0
Boots: $3, felt was $0.50 a sheet (at 2 sheets) plus another $1 bandanna which I also used for the flowers (owned the thread)--$5
Hat: $3 plus $1 ribbon on sale (owned the ribbon for the chin-strap)--$4
Horse: $0.50

That's an entire costume for just under $20. And not only was it fun to make but each piece (minus the hat) can be reused--or played with--post-Halloween.

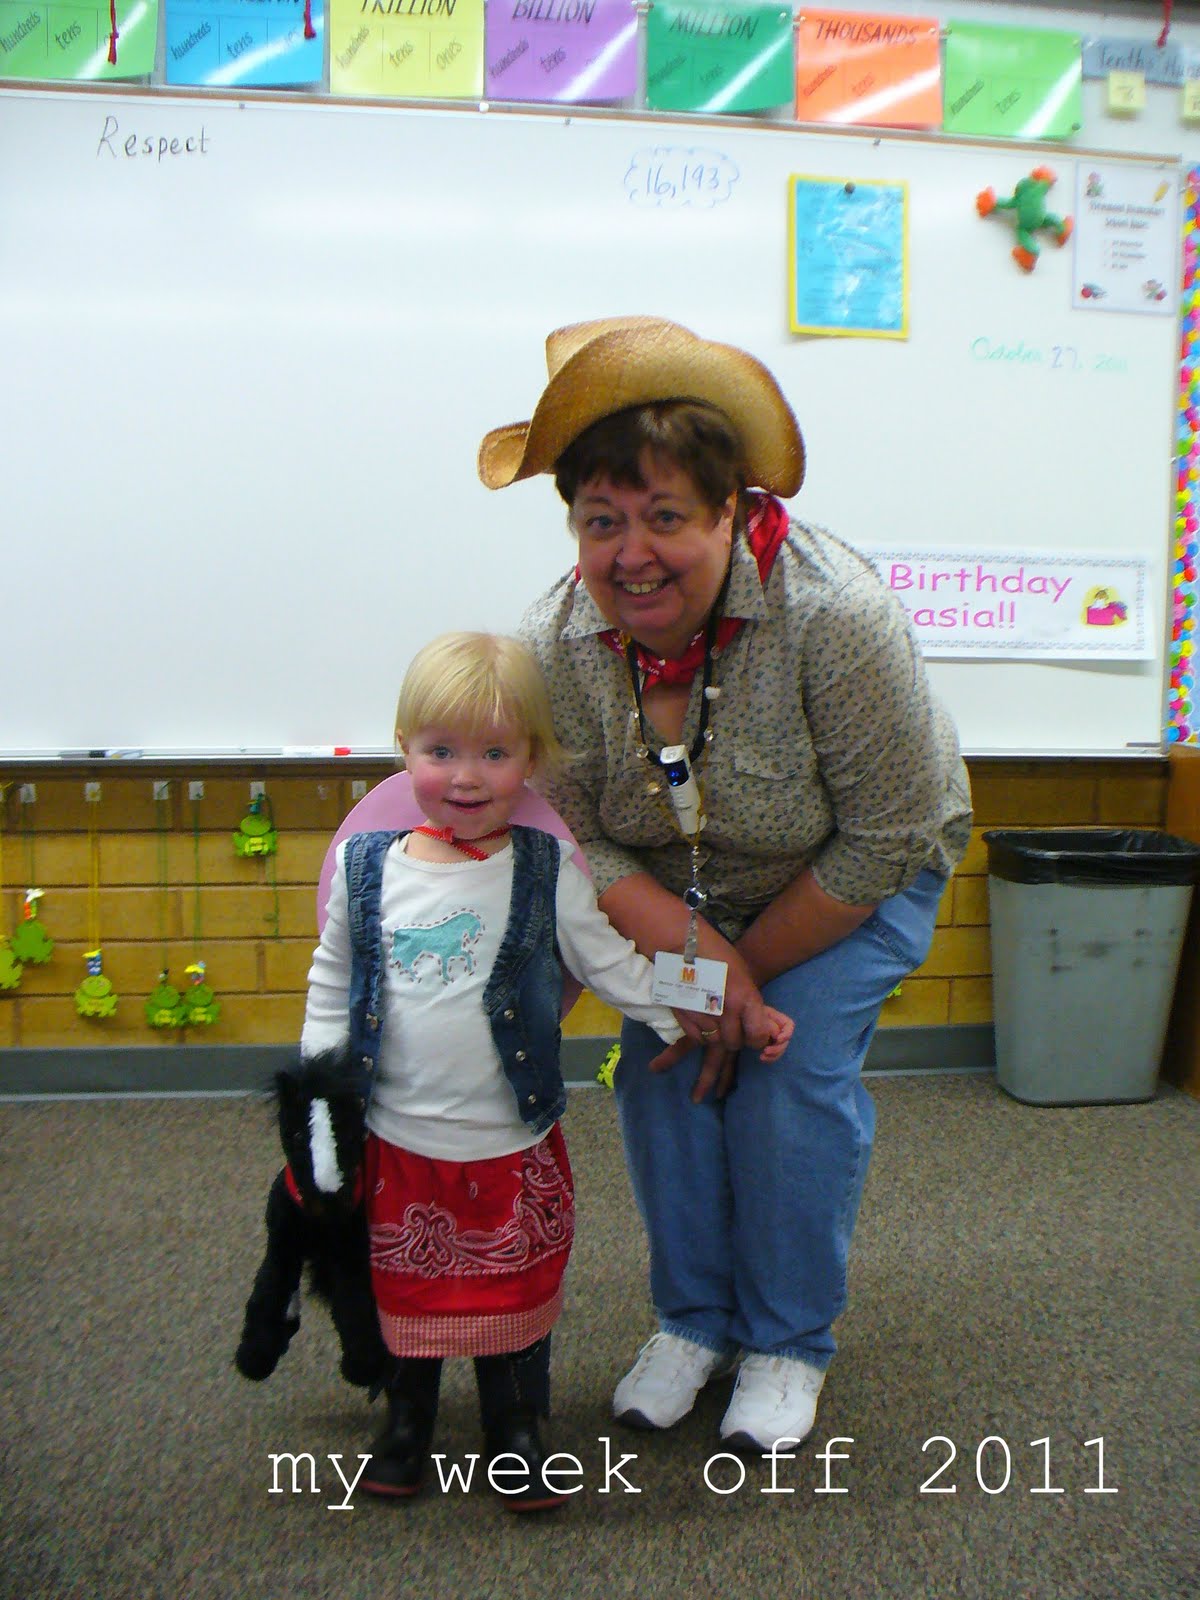
Finally, here is my daughter in her costume at her Grandma's school parade!